Skip to content
How to Inspect Rubber Duck Samples: A 10-Point Physical Checklist
A rubber duck sample is the most important checkpoint between your idea and a full production run. It is the last place to catch a color mishap, a logo that will not survive washing, or a mold line that ruins the duck — before you have committed to thousands of units. But most buyers check a sample the way they check a photo, which means they miss the physical defects that only show up in the hand.
This is a practical, 10-point physical checklist for inspecting a rubber duck sample. Run through it before you approve, and you will have much less to argue about after the bulk order arrives.

1. Check the overall color against your Pantone reference
Hold the sample next to your Pantone card in natural, even light. PVC ducks can look right in a showroom and drift badly under store LED. We match to Pantone and offer matte or gloss finishes, so confirm the finish matches your intent — matte reads premium, gloss catches light.
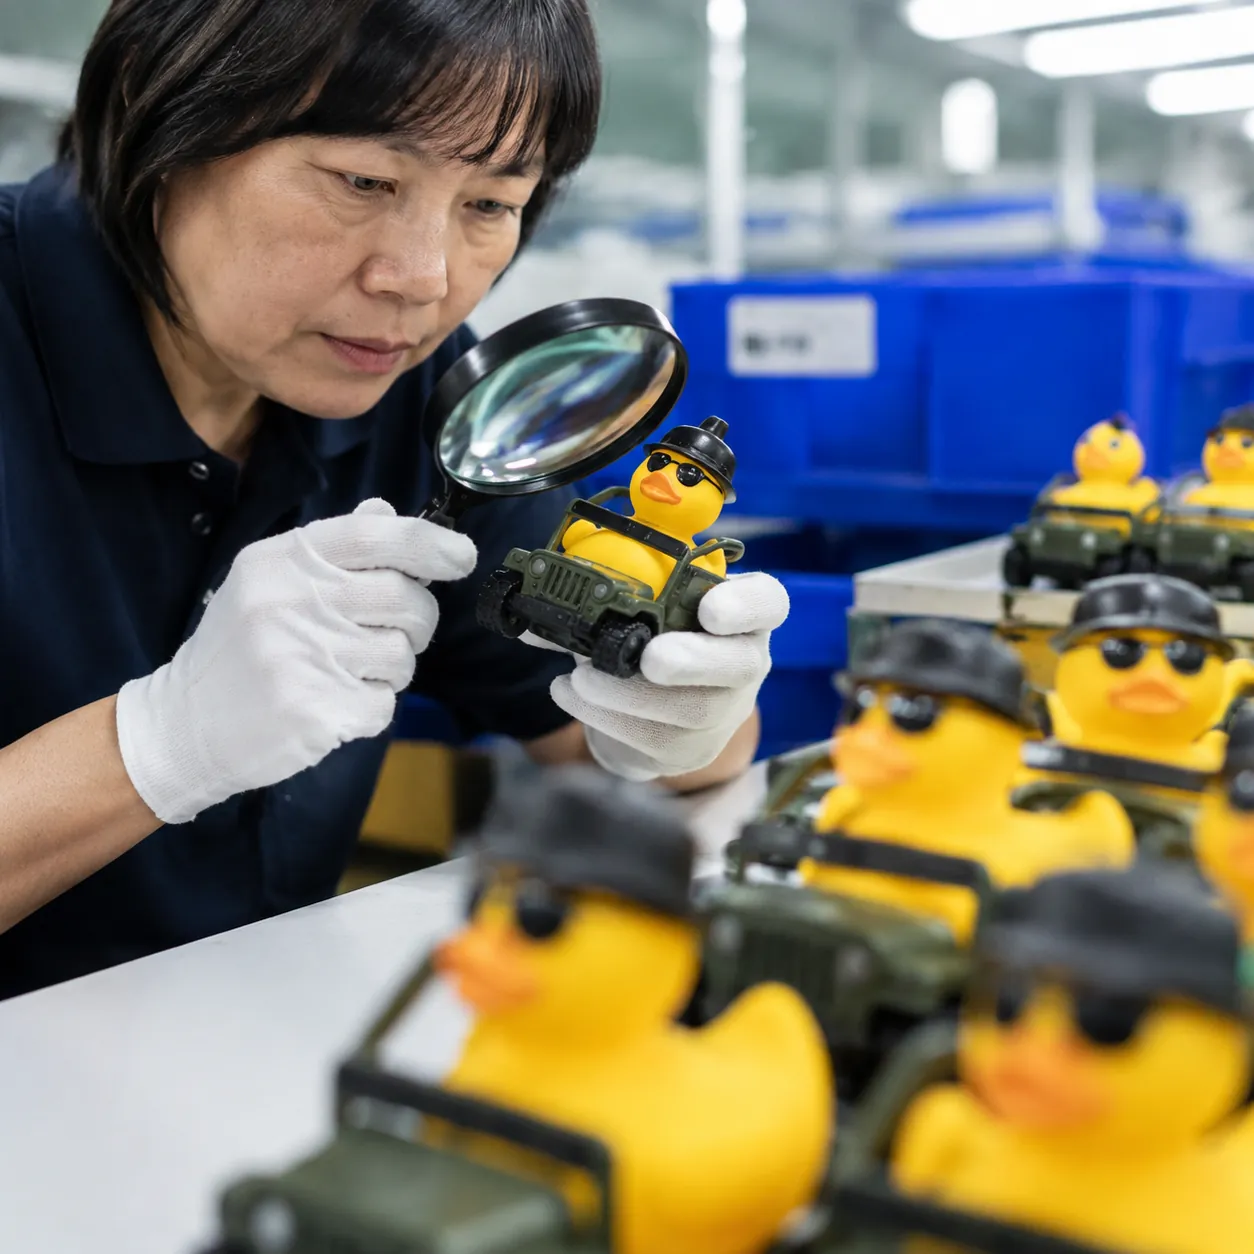
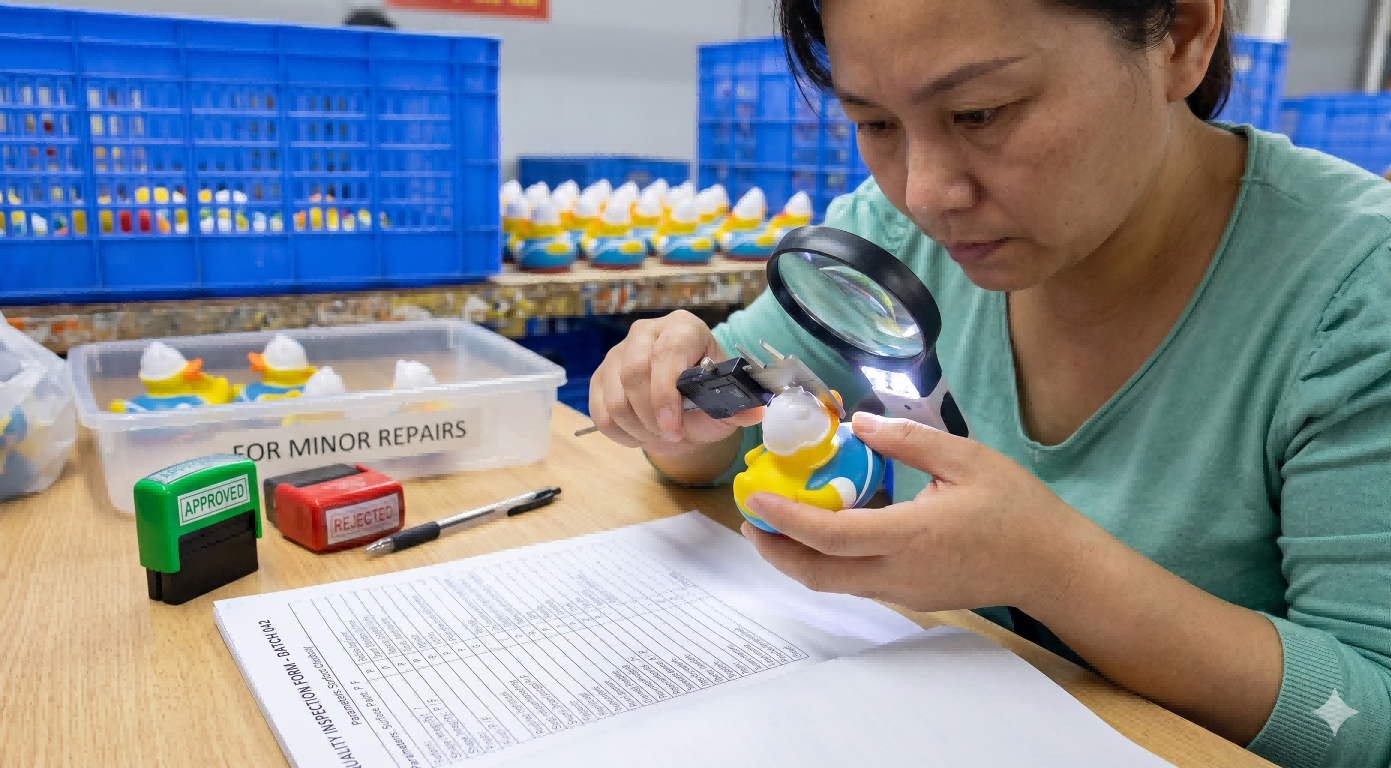
2. Look at the logo or print detail under a loupe
Printed logos should have crisp edges with no smudging. Check whether the print is pad or UV, and whether it covers the area you negotiated. A logo that is too fine may lose detail on a small duck — our mockup approval checklist helps you confirm the artwork before it is printed.
3. Feel for mold lines and fins
Run a fingertip along the seams and around the neck and base. Raised mold lines are common on cheap molds and they catch dirt. If you can feel a sharp edge on a display duck, reject or request a polished mold.
4. Check the squeaker
If the duck has a squeaker, squeeze it several times. It should sound consistent and not stick. On a large run, a squeaker that fails after two squeezes is a return-rate problem.
5. Examine the surface for pits, bubbles or dust
Turn the duck toward the light to catch pinholes, air bubbles or embedded dust. These are manufacturing defects, not acceptable variation.
6. Confirm weight and material feel
Weigh the sample and compare to the spec. A duck that is too light may be under-walled; too heavy may mean excess material. The touch should match the target grade — soft-touch versus standard.
7. Test the float and sealing
Put the duck in water briefly. Does it float level? Do any gaps leak around the seam? This catches poor welding that a photo can never show.
8. Verify the size against your template
Measure length, width, height against the spec. A duck that is 5% off may not sit in your packaging or custom packaging correctly.
9. Check the eye and detail placement
Eyes and printed details should be symmetric and correctly placed. Crooked eyes are the single most common detail complaint on character ducks.
10. Confirm the compliance markings
Ask for the certificate that matches the material. Rubber ducks are toy-adjacent and need the right safety set; our factory holds BSCI, GRS, REACH and CPSIA compliance (Intertek tested). The US Toy Industry Association is a solid industry reference for what toy and retail channels expect. You can also verify BSCI, GRS, REACH and CPSIA certificates before you order.
What to do when a sample fails
Not every defect is a rejection. Distinguish a fixable spec issue (wrong colour, a mold line, a seal gap) from an acceptable-variation issue. Fixable issues are reworked; a sample that is structurally sound but off-colour is a communication fix. If the sample is fundamentally wrong — wrong mould, wrong material, a logo that will not hold — treat it as a stop and rework before the full run.
The longer you wait to reject, the more you pay. That is why the sample stage matters more than the bulk stage. For more on when to accept and when to reject, our 5 sample mistakes to avoid walks through the decision points.
Sample cost and timeline
A custom sample typically takes about 7 days after the mockup is approved (with a 12-hour mockup on the design side). Whether the sample is free or paid depends on the design complexity and volume. Understand the free vs paid sample model before you commit, so the cost is not a surprise.
Conclusion
A rubber duck sample inspection is a 10-minute routine that saves a 10-week production surprise. Check color, detail, mold lines, squeaker, surface, weight, float, size, eye placement and compliance — then either approve a fixable sample or stop and rework. When you inspect with a checklist instead of a feeling, you buy with confidence instead of hope.