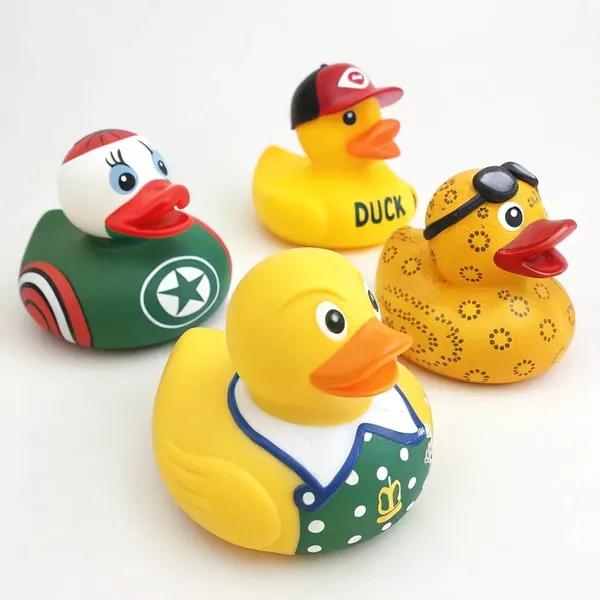
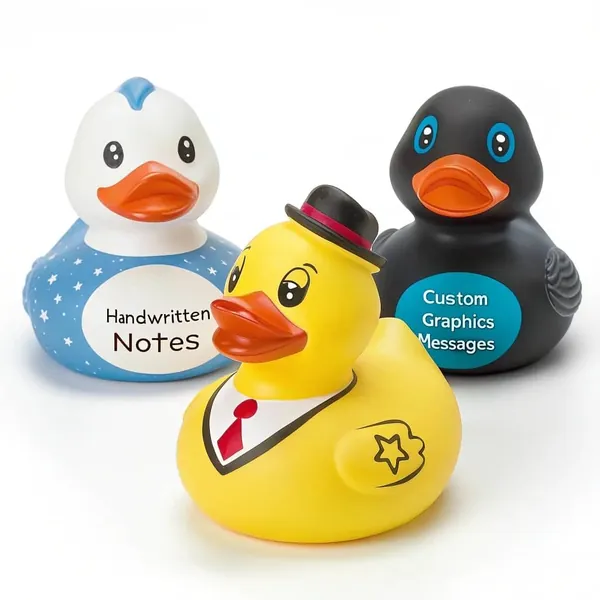
Based on our own mold and assembly floor, the tooling numbers behind two duck body routes, and the ducks on our sample shelf.
There is a thin line running around the neck of almost every rubber duck I pick up. Buyers see it before they see the print, and the first question is nearly always the same: is that line a defect?
I have answered it often enough that I now start a factory visit at the same place. The line is where the two halves of the mold meet. What it means for your order depends on which of two processes made the body, and that choice is usually made long before anyone pours a color.
The short answer
A classic squeeze duck is cast hollow in a two-part tool, and a solid display duck is injected into a steel tool under pressure. Both leave a parting line, but only the hollow duck has a sealed filling hole beside it. The route decides tooling cost, squeeze, buoyancy and where print can sit. What usually decides the route is the quantity you plan to run, not the drawing.
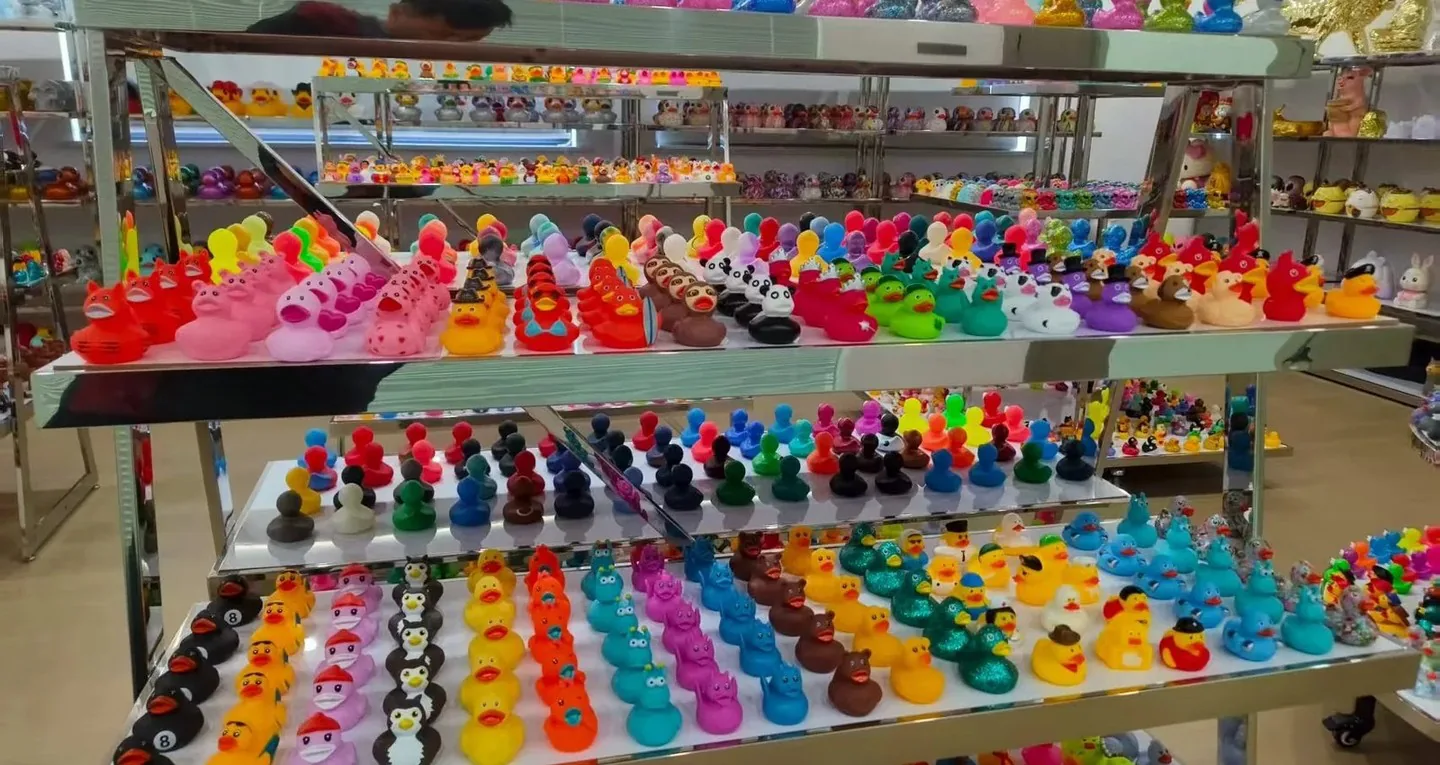
Most explanations of this question talk about rubber as a material: latex collection, extrusion, rubber hoses, once even a wheeled excavator nicknamed a duck. They explain an industry and skip the object in your hand. I would rather start with the object, because that line is the cheapest quality check in the whole order.
Five Questions Before the Process
The questions I hear from buyers are not really about machines. They are about a sample that does not look the way it was imagined.
- Is the line around the neck a defect, or a normal part of molding?
- Why does the same artwork look sharper on one duck than on another?
- Why do two quotes for one drawing differ by almost 40 percent?
- Why does one duck float upright while another leans or sits low?
- What is worth checking on a sample before the run is approved?
I will take them in that order, because the first one explains the rest.
The Hollow Route: Cast, Rotate, Seal
A hollow duck starts as a liquid. PVC plastisol is poured into a two-part aluminum or steel tool. The tool is clamped, turned on two axes inside an oven, and the plastisol coats the cavity walls as it gels. What comes out is a shell, not a solid shape.
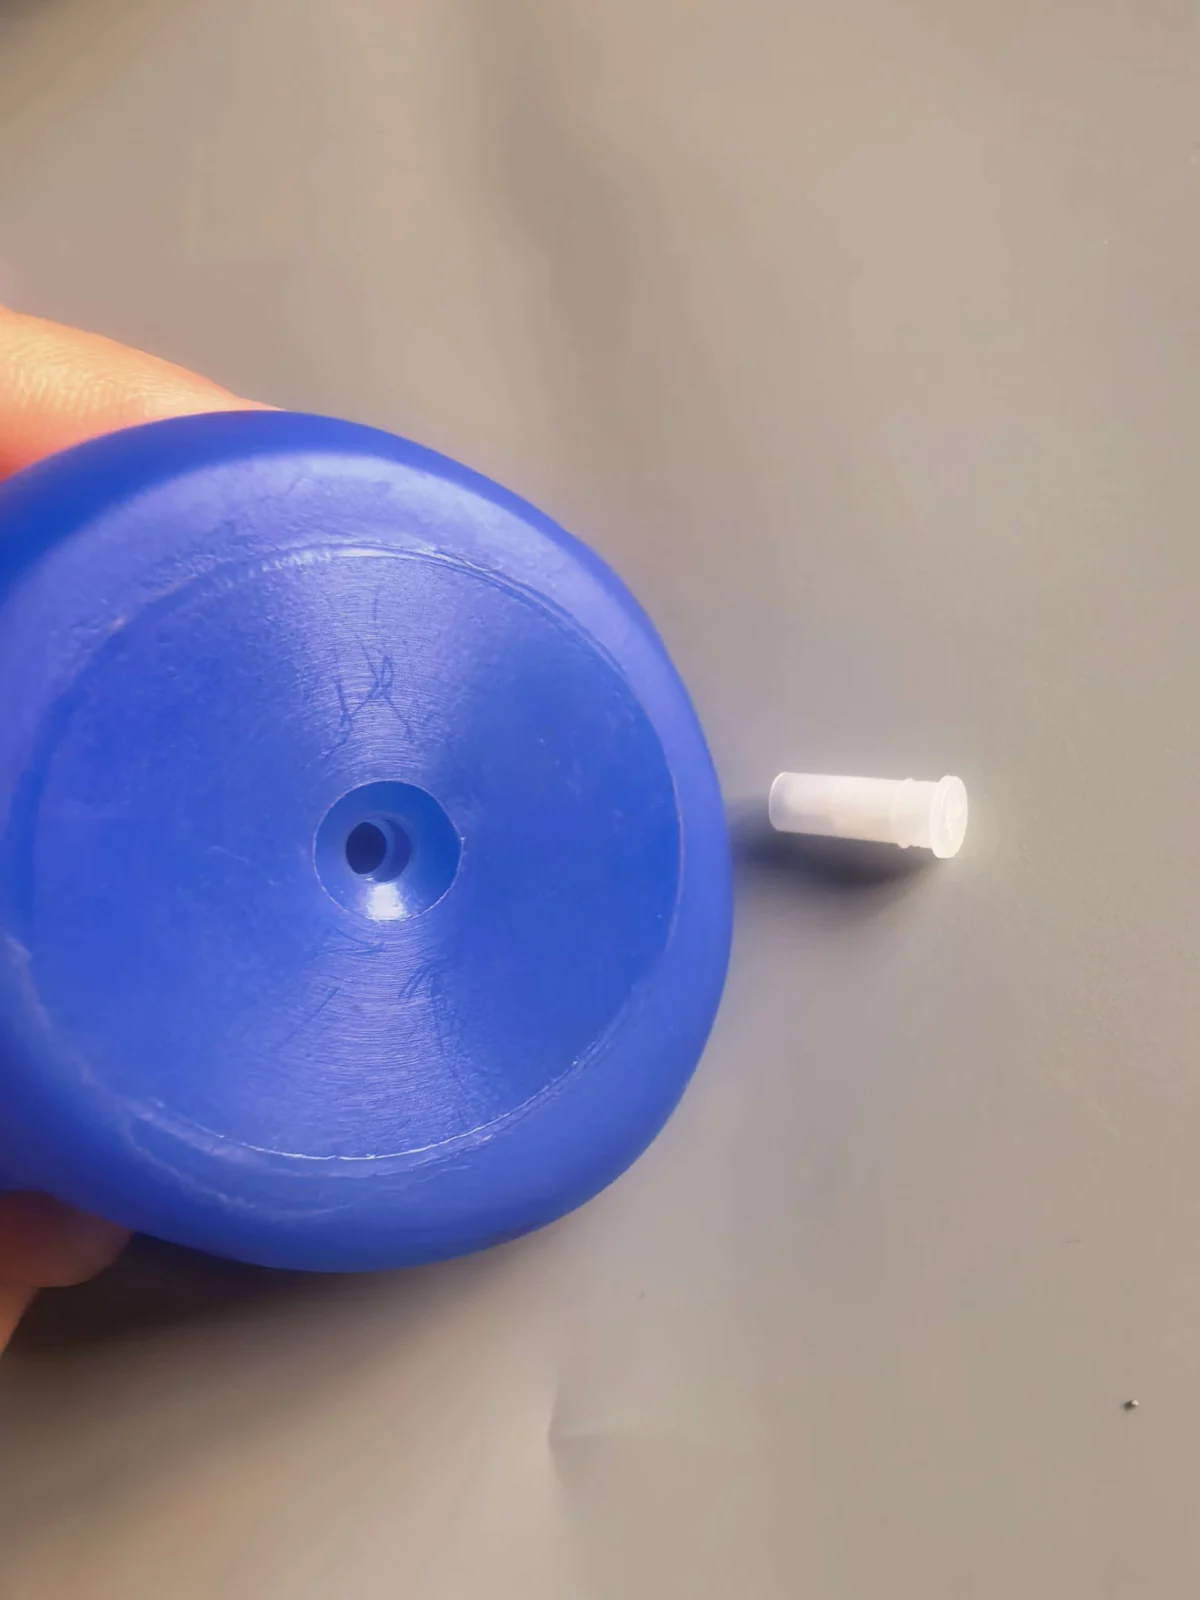
The shell is not the same thickness everywhere. Wall thickness follows the dwell time in the oven and the viscosity of the batch, which is why two ducks from the same tool can feel different in the hand. The tool leaves a parting line where its halves meet. The opening used to fill and vent the cavity is sealed after demolding, often at the tail or under the base, and the squeaker can sit in that same spot.
The air hole is part of the base tool rather than a later addition, because without it the body cannot be pulled from the mold. A squeaker is a simple whistle pushed into that hole when the brief asks for one, and it is left out for markets where the rule is different: ducks bound for the US, for example, ship without one.
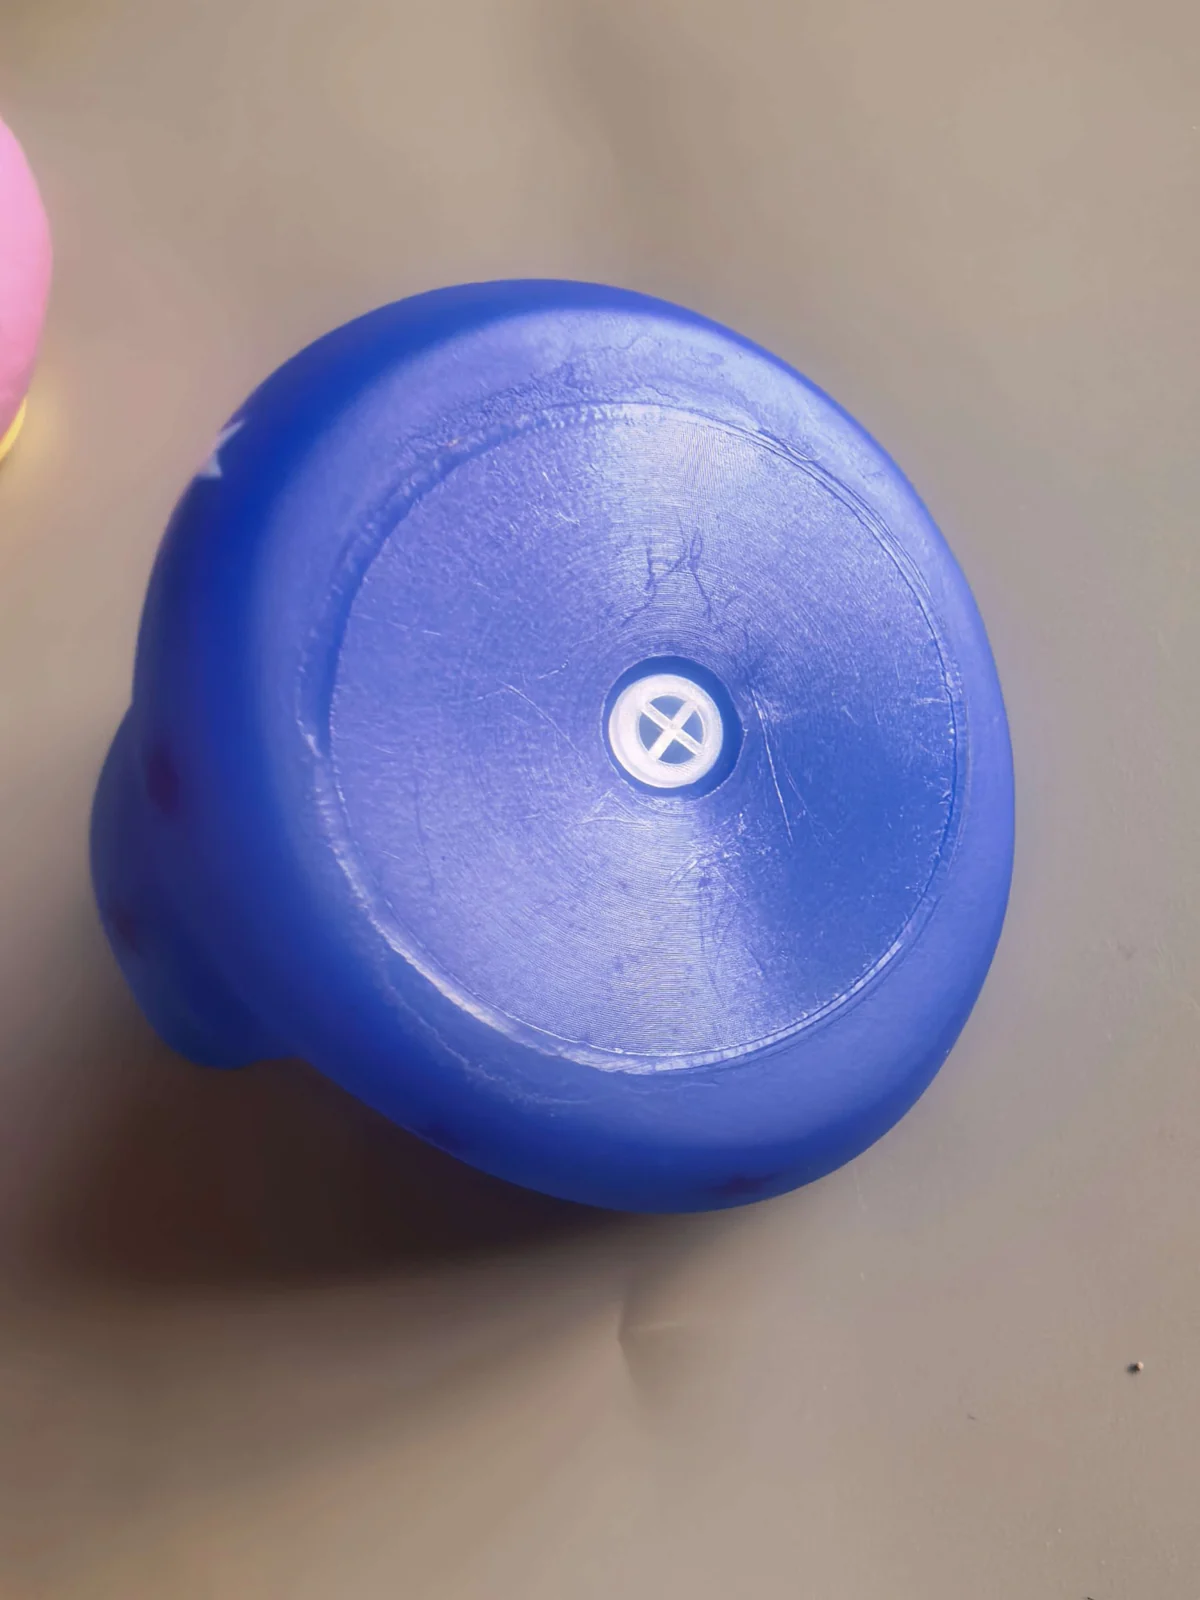
Wall thickness is the detail most buyers skip. They specify color and size and leave the wall to the factory. "Soft like the last one" is not a spec, because the last one may have run at a different dwell time. Ask for a wall thickness target in millimeters and keep a squeeze sample from the approved run.
Four things are worth confirming on this route: the wall target, where the filling hole is sealed, how paint adhesion is tested, and whether the duck floats upright with the squeaker fitted.
The Solid Route: Injection
Injection does not pour. It forces molten PVC or TPE into a steel tool under pressure, holds the part until it is stable, opens the tool and ejects the duck. A cycle is measured in seconds, not in the eight to fifteen minutes an oven cycle takes.
The differences show up in the hand. Walls are uniform, tolerances are tight, and a multi-cavity tool can run several ducks per shot. The duck is rigid: it does not squeeze, and it will not float by accident. Buoyancy has to be designed as a trapped air chamber or a hollow section, or the duck sits low or tips over.
Gate position is the detail buyers skip here. The gate is where the material enters, and it leaves a small mark. If it lands on the chest, your logo either covers it or moves. On a print-heavy design, gate location belongs in the tool drawing review, not in a conversation after the first sample.
Ask for the cavitation, the gate location against the artwork, how buoyancy is achieved, and what drop test the part passes. On either route, the toy safety tests are mechanical as well as chemical: a hollow duck is checked for small assembled parts, a solid one for rigid projections.
The Seam Is a Spec, Not a Flaw

A parting line is supposed to be there. Flash is different: it is the thin fin of material that escapes between the tool halves, and it should have been trimmed before packing. Run a fingernail along the line. It should feel like a step, not a cut. Then squeeze the body across the line and watch whether the seam opens.
How visible the line looks is a judgment. Two people can look at the same duck and disagree. The measurable version is line width and flash height. Ask for a limit in millimeters, then check the sample against that limit instead of against memory.
There is a second reason to look closely. A factory that controls the seam usually controls the tool. A factory that paints over a split seam is hiding it, and paint fails at a split before it fails anywhere else.
Which Route Fits Your Order
Tooling is the first number in the quote and the one buyers try to remove. It cannot be removed, only amortized. The gap between the two routes is why two quotes for one drawing can sit 40 percent apart.
| How the body forms | Plastisol coats a rotating two-part tool | Molten PVC or TPE fills a steel tool under pressure |
| Duck-sized tooling | Roughly US$1,500–4,000 | Roughly US$5,000–15,000 or more |
| Cycle time | 8–15 minutes in the oven | Seconds per shot |
| Wall | Set by dwell time and viscosity; can vary | Uniform, with tight tolerances |
| Squeeze | Yes, and the wall target can be specified | No |
| Float | The hollow shell traps air | Needs a designed air pocket |
| Volume fit | Custom runs under roughly 50,000 pieces | Commonly 100,000 pieces and up |
| Added detail | Painted and assembled after casting | Molded in, often multi-part |
Tooling ranges are what we quote for duck-sized tools; drawing detail and cavity count move them. The volume bands are where each route usually wins, not a rule.
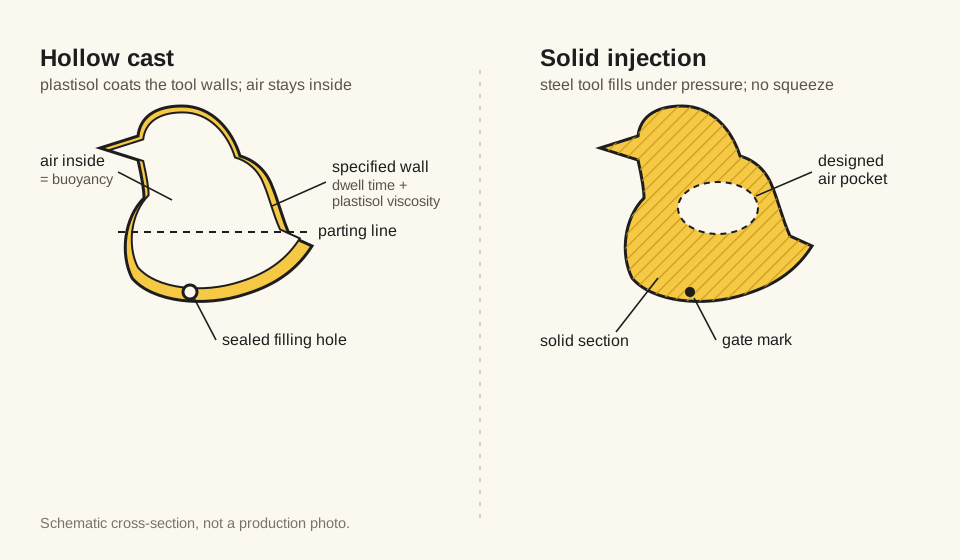
Schematic, not a production photo: the hollow shell keeps air inside, the solid part needs a designed cavity.
The same two routes apply to mini, standard and large bodies; the duck sizes guide covers the dimensions.
Most programs sit on one side or the other. A promotional run of 10,000 or 20,000 ducks is usually hollow cast, because the tooling gap dominates. A retail program in six figures is usually injection molded, because the cycle time pays the tool back. Hybrids exist too: a hollow body with an injection-molded hat, bow tie or base, priced as two tools and one assembly step.
Our own custom runs start at 1,000 pieces. Below that, the tooling is spread over too few units to make sense, and stock styles are the better answer.
After the Body: Paint, Print, Assembly

The molded body is not a finished duck. It is trimmed, washed and checked, the eyes and beak are painted or printed, and your artwork goes on with pad printing where the surface allows it. On a hollow duck, eyes and beaks are often separate parts added after casting, which is one more assembly step with its own check.
Print placement follows the tool. Artwork that sits across a parting line will break along that line, and artwork that covers a gate mark will look thicker there. If the design is print-heavy, show the printer the tool drawing before the tool is cut, not after.
Packing is part of the process too: polybag or gift box, then a carton count that matches how the ducks will be handled at the other end. A carton that is easy to count is a carton that is hard to damage.
What the Seam Tells Me
When a sample lands on my desk, I look at the line before I look at the logo. A clean, consistent line tells me the tool is closed properly, the operator is checking parts, and the trimming step is not being rushed. A line that wanders, or one that has been painted over, tells me the opposite, and I will open the carton further.
This is not a technical judgment I can hand to a form. It is a habit: the same part, checked at the same place, across several cartons. If the line looks the same on the tenth duck as on the first, the run is under control.
Final Note: Check These Seven Things Before You Approve
- Squeeze the body across the parting line and listen for a split.
- Find the sealed filling hole and check it is flush and painted.
- Float the duck in water and watch for a lean before you accept the base.
- Compare the print to the approved proof at arm's length, not under a loupe.
- Drop it from waist height onto a hard floor, twice, and look at the seam.
- Ask for the wall thickness in writing on a hollow duck, or the cavity and gate layout on a solid one.
- Ask who owns the tool, and what a reorder costs once it exists.
If you only have five minutes with a sample, spend them on the line. It is the one place where the tool, the operator and the packing all show up at once.