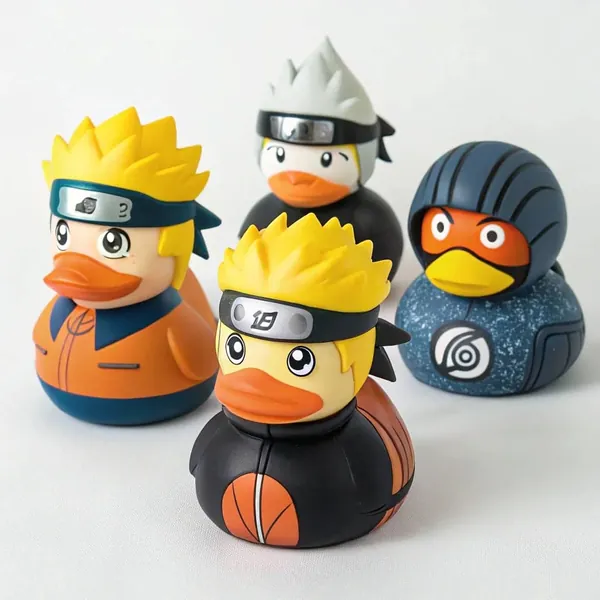
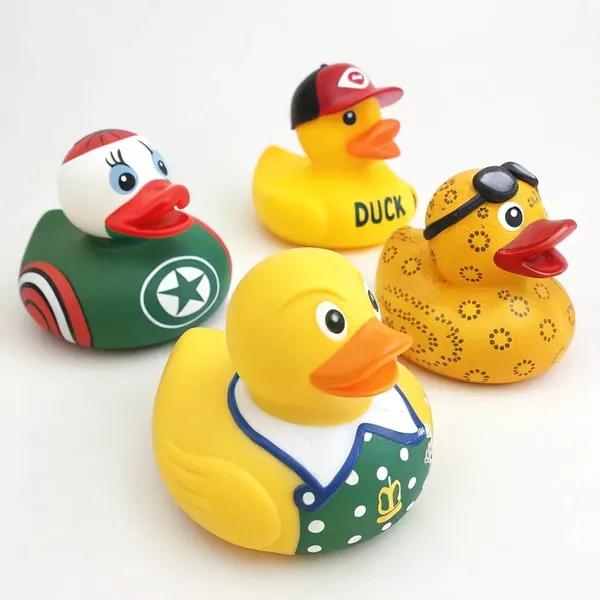
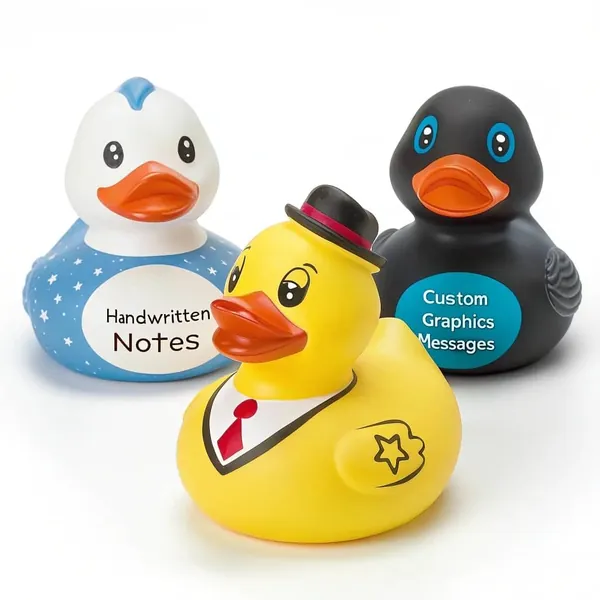
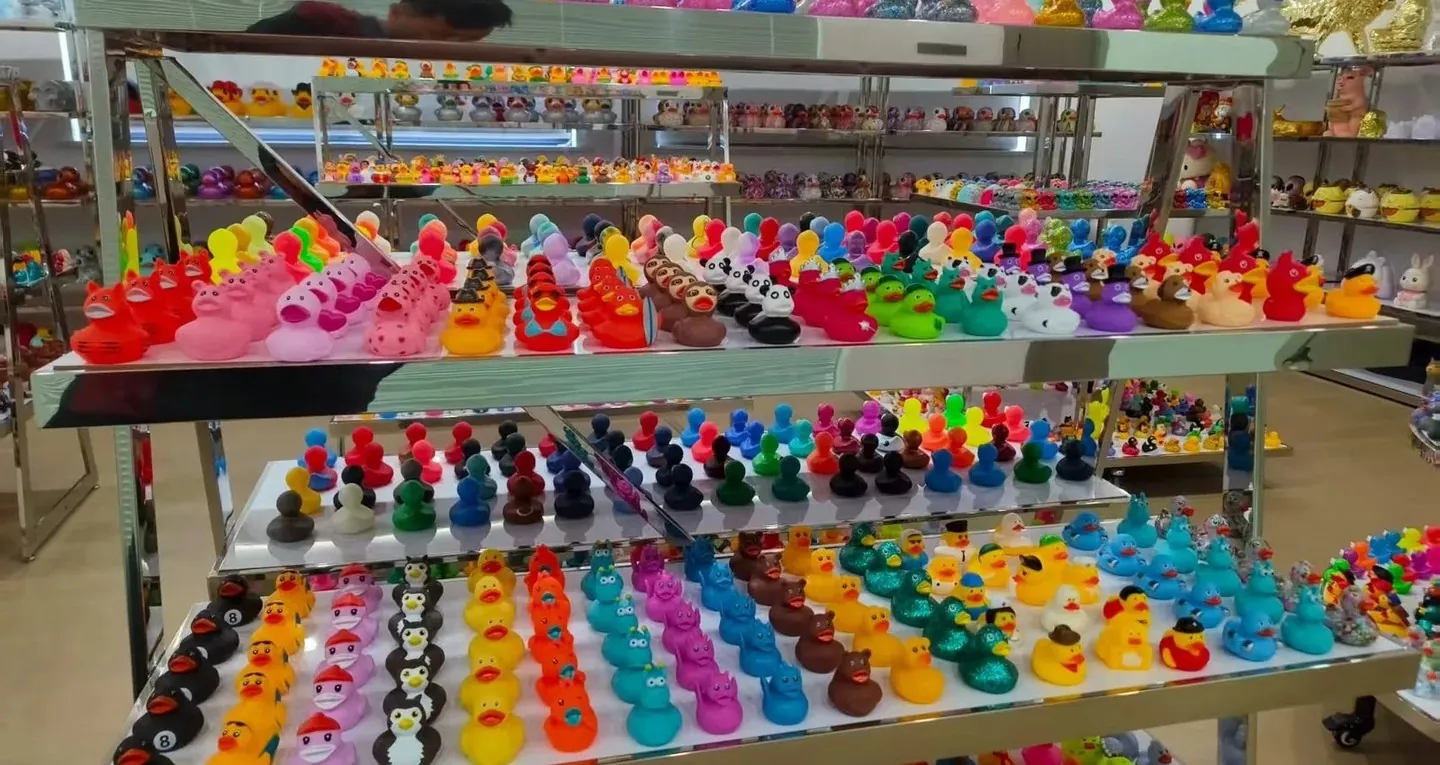
The joint where a hat, a bow tie or a prop meets the duck decides the tool, the material and the test. Moulded in, over moulded and attached are three different products that share a drawing. Each one changes what the buyer can approve on a sample and what a child can pull off the duck.
An accessory is a part before it is a character, and the joint decides the tool, the finish and the test.
In short: A duck accessory follows one of three builds. It can be molded into the body so the part and the body are one piece, over molded as a second material laid onto the body, or molded separately and fitted after the body comes out of the tool. Molding in gives a seamless silhouette, over molding gives a colour or hardness break, and a fitted part gives the lightest tool path but adds an attachment that has to hold under a pull test.

An Accessory Is a Part Before It Is a Character
The sketch is the easy half. A bow tie, a hat or a small handheld prop looks like decoration, but on the factory side it is a second geometry with its own edges, its own paint access and its own failure mode. It can move the parting line, bury an undercut in a place the tool cannot open, or put weight on one side of a body that was drawn to float level.
That is why the joint comes before the character. Once you know whether the part is molded in, over molded or fitted, you also know how many tools the design needs, where the seam will sit, and what a sample has to prove before anyone approves a run. The stock mold and custom tooling page covers where that line sits when the body is shared.
The four questions below are the ones that decide the route. They are worth answering in writing, because two buyers can sketch the same pirate duck and end up with two completely different builds.
- Is the prop part of the body, a second material bonded onto the body, or a separate part that gets fitted?
- If it is separate, what holds it on, and what does the age grade on the pack allow?
- Does the shared body still read as the same duck once the accessory changes the pose or the balance?
- Does the retail box show the accessory and hold the assembly without pressing the part?
Three Routes for a Hat, a Bow Tie or a Prop
The three routes differ in where the accessory shape actually lives. On a molded in part, the shape is cut into the body cavity, so the duck comes out of the tool holding its hat. On an over molded part, a second cavity closes over the first body and a second material fills the space that the accessory occupies. On a fitted part, the accessory is produced from its own small tool, or bought as a stock item, and joined to the body afterwards.
Hats, bow ties and similar parts are usually molded into the duck in one piece, which gives the cleanest silhouette and is what most buyers choose. A separate add-on part only makes sense for a series where the accessories change from duck to duck. A two-tone duck is a single-colour body with a sprayed second colour, applied through a paint mask made for that pattern.
The table sets the three side by side. It is not a ranking, because the right route depends on how the duck will be used, what age it is sold to, and whether the body has to stay shared across a range.
| Route | Where the shape lives | What it adds to the tool | What the sample has to prove |
|---|---|---|---|
| Molded in | In the body cavity, so the hat or bow tie is part of the duck | A dedicated cavity and a parting line that has to run somewhere sensible | That the new edges are clean and the paint reaches every new surface |
| Over molded | In a second cavity that closes over the first body | A second tool and a second material shot | That the bond line holds when the part is flexed |
| Fitted | In its own small tool, or bought as a stock part | A small separate tool, or none at all | That the attachment survives the pull test for the age grade |

A useful way to read the table is to start at the last column. If the sample cannot prove the claim in that column, the route is wrong for the design, no matter how good the sketch looks.
What Molding In Changes on the Body
Molding in makes the accessory part of the body, which sounds like the simplest option and is the least forgiving. The hat brim, the knot of the bow tie or the peak of a helmet now sits in the same cavity as the beak, and every one of those shapes has to open in the same direction when the tool parts.
The practical consequence is that undercuts move to the front of the conversation. A brim that overhangs can force a slide, a redesign of the angle, or a two piece tool, and each of those is a tool decision, not a paint decision. The parting line also has to be placed where trimming will not scar the accessory, because a seam across a flat brim is far more visible than the same seam on the back of a head.
The second consequence is that the body is no longer shared. A duck with a helmet and the same duck with a top hat are two cavities, so a range that looked like one body plus five hats is really five tools. That is the point where a range usually gets shorter.
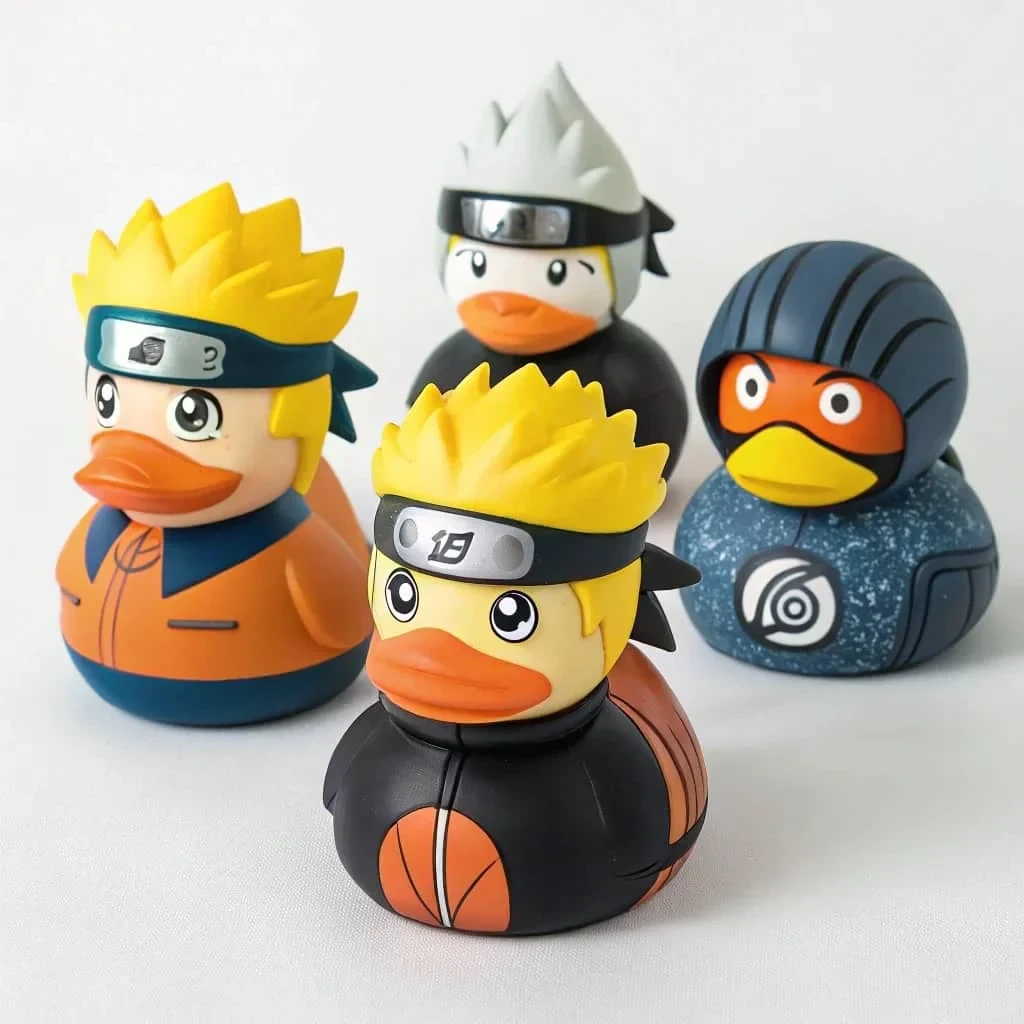
On the sample, the edge where the accessory meets the head matters before the face does. If that edge is ragged, painted over, or lighter than the body beside it, the tool or the paint masking needs another round. The two body routes behind that decision are compared on the rotocasting and injection page, because a hollow shell and a solid part fail at the joint in different ways.
Over Molding: A Second Material and a Second Shot
Over molding keeps the body whole and adds the accessory as a second material, shot into a cavity that closes around the first part. It is the route to choose when the accessory has to read as a different material: a soft bow tie on a firm body, a grip panel on a handle, a matte hat on a gloss head.
The design work moves to the bond line. The second material has to reach the first with enough mechanical key, or the part relies on adhesion alone, and a bond line that looks closed on day one can lift at the edge after handling. The colour boundary is a tool decision as much as a material one, and the two tone page covers how a boundary is specified when both colours sit on one body.
Over molding also doubles the paperwork. Two materials mean two material declarations and two sets of questions about what the part is made of, which is why this route suits a design that already needs a material break rather than one that only needs a shape.
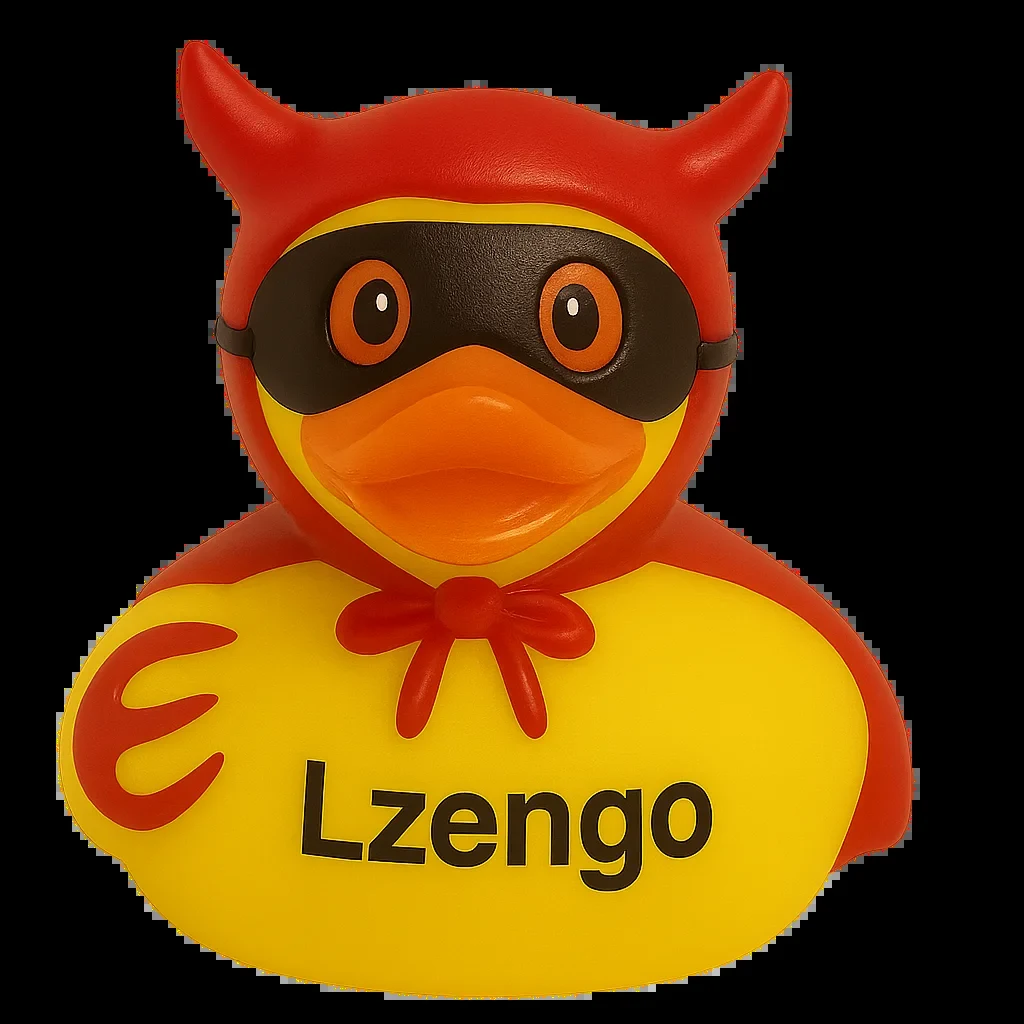
When the sample arrives, flex the accessory away from the body and watch the bond line rather than the accessory. A white line that opens at the joint is the failure to catch now, because it will not close again in a bulk run.
A Fitted Part and the File That Holds It
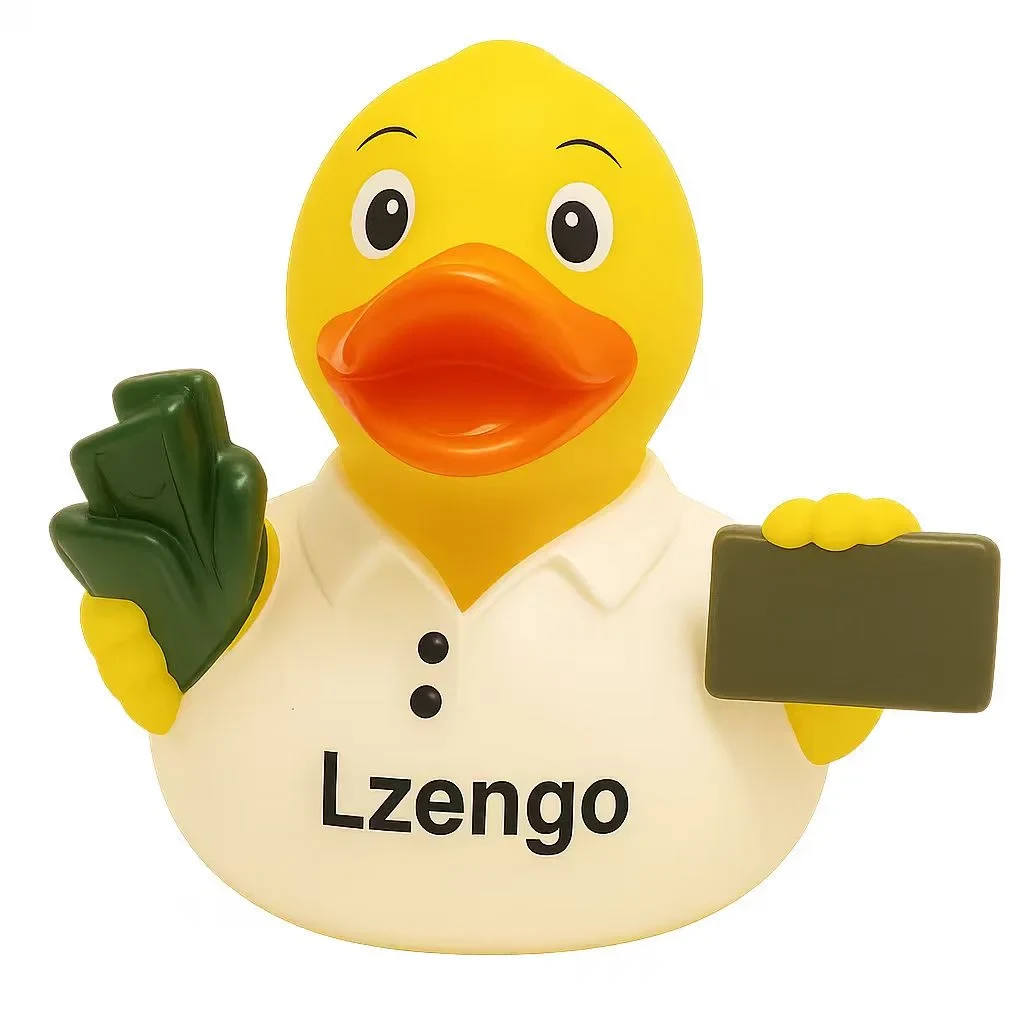
A fitted part is produced on its own and joined after demolding. The joint can be a socket, a plug, a strap or an adhesive, and the choice is the whole design. This is the route with the lightest tool path, and the one that puts the most weight on a drawing detail that is easy to leave out.
For a duck sold to children, that detail becomes a safety question. The U.S. Consumer Product Safety Commission explains that the Consumer Product Safety Improvement Act made ASTM F963 a mandatory standard for children's toys under 16 CFR part 1250, and that detached small parts are regulated separately under 16 CFR part 1501. Read the CPSC toy safety guidance before you approve a detachable prop, because the age grade on the pack decides whether the part has to stay on through testing or can be sold as a separate piece.
CPSIA section 106 duties are summarised in our toy safety guide.
The drawing is where this is settled. Put the joint on the drawing with its insertion depth, the adhesive or the mechanical lock named, and the assembled orientation shown. If the joint only exists in an email after the sample, it will not survive a change of operator.
What the Sample Has to Prove
The sample is not a beauty contest. For an accessory duck it is a set of physical tests, and the ones that matter are the same tests a laboratory will run on the bulk goods. The U.S. regulation for toys aimed at children over 18 and not over 36 months describes the pattern: the toy is dropped, and any projection a child can grip is torqued and then pulled.
Any projection of a toy that the child can grasp with at least the thumb and forefinger or the teeth shall be subject to this test.
That sentence, from 16 CFR 1500.52, is the reason a hat or a bow tie is never only a visual decision. In the same section the drop is four drops from a height of 3 ft onto a specified surface, and the tension applied to a grippable part is 15 lb. A fitted accessory has to come through that sequence still attached, with no sharp edge exposed where it sat.
So the sample review has four physical checks and one documentary one: pull the accessory by hand in the direction a child would, look at the joint under the paint, drop the duck and recheck the joint, float it and watch the trim, and confirm the test report covers the accessory and not only the body. The sample approval checklist covers the photo side of the same review, and the durability standards page covers the standard behind the tests.
Scale, Pose and Balance After the Accessory
An accessory changes the body's behaviour in water, and that is easy to miss when the review happens on a desk. A tall hat adds volume above the waterline, a prop held to one side moves mass, and a body that floated level as a plain duck can lean once the character is complete.
The fix is rarely complicated, but it has to be designed rather than discovered. A base can be widened, a weight pocket can be added, or the accessory can be made lighter, and the base designs page covers the options. What matters is that the float check happens with the accessory fitted, in the same configuration that ships.
Pose belongs in the same review. If the accessory needs a raised head or an outstretched arm, the body is redrawn, and a redrawn body is a new tool even when the rest of the duck looks unchanged. Scale is the other half: the same hat on a mini and on a large body is two different proportions, so a range needs a proportion check at each size before the tools are cut.
What the Retail Box Has to Show
The pack is part of the accessory design, because the accessory is what the buyer sees through the window. If the duck ships with the hat fitted, the insert has to hold the assembly without pressing the brim, and the window has to frame the accessory rather than the tail.
Three things go wrong at this stage. The insert is cut for the plain body and the fitted hat pushes the duck off centre. The accessory is packed loose in the same cavity and arrives scratched. The label statement describes a plain duck while the box holds a character with a small detachable part, which puts the age grade in conflict with the contents.
None of that is a design failure, but all of it is caught late. Ask for the packed sample, not only the duck, and open it the way a buyer in a store would. If the accessory is what sells the duck, the box has to make it visible in one glance.
Frequently Asked Questions
Can an accessory be added without cutting a new tool?
Yes, if it is a fitted part and a stock shape or a small separate tool will do the job. No, if the accessory is molded in or over molded, because in both routes the accessory is cavity geometry and the body tool changes with it. The decision is worth making before artwork, since a molded in design cannot be converted to a fitted one later without a new body cavity.
Is a molded in hat stronger than a glued one?
They fail in different ways rather than one being stronger. A molded in hat cannot detach because it is the body, so the risk moves to the edges and to paint that has to wrap a new shape. A fitted hat depends on its joint, which means the pull test and the age grade decide whether the design is allowed at all.
Do accessories change the age grade on the pack?
They can. A detachable accessory brings the small parts rule into play, and a duck sold for children under three has to keep every part attached through the test sequence. The label has to match what the test file proves, so the age grade is a decision made with the accessory design, not a sticker added at the end.
What files does a molded prop need before the tool is cut?
A 3D model and a 2D drawing that shows the parting line, the draft on every new surface, the wall on the accessory, and the areas that will be painted or printed. Add the assembled view with the body, because the joint between part and body is the detail that decides whether the tool can open cleanly.
Final Note: Six Checks Before the Prop Is Approved
- Name the route in writing: molded in, over molded or fitted, with the joint detail on the drawing.
- Check that the parting line lands where trimming will not scar the accessory.
- Pull the accessory the way a child would, then look at the joint rather than the face.
- Drop the assembled duck and recheck that the joint has not opened or exposed an edge.
- Float the duck with the accessory fitted, and confirm the trim in the packing configuration.
- Open the packed sample, not only the duck, and confirm the box shows the accessory and the label matches the age grade.
If you only have ten minutes with an accessory duck, spend them on the joint. The character sells the first unit, and the joint decides whether the second one arrives intact.
Key takeaways
- An accessory is a second part with its own tool, joint and test file, so settle the route before the character art is approved, as set out under an accessory is a part.
- Molding in gives the cleanest silhouette and turns every accessory into a dedicated body cavity, covered under what molding in changes.
- Over molding buys a colour or hardness break and moves the risk to the bond line, covered under over molding.
- A fitted part is the lightest tool path and the heaviest safety path, because the pull test and the age grade decide it, covered under a fitted part.
- Approve the sample on the joint, the float and the packed box, covered under the sample checks.